For gamers who love to customize their gear, the Steam Deck shell swap is the ultimate upgrade. Imagine transforming your handheld console into a personal masterpiece that reflects your unique style. It’s not just about looks; it’s about making a statement while you crush your competition.
Swapping out that standard shell can feel like giving your trusty sidekick a superhero makeover. Whether it’s a sleek matte finish or a vibrant design that screams “look at me,” the possibilities are endless. Plus, it’s a fun way to express creativity, and who doesn’t love a little DIY adventure?
Overview of Steam Deck Shell Swap
Steam Deck shell swaps offer gamers a chance to modify their devices significantly. This customization not only personalizes the console but also enhances its aesthetic appeal. By changing the outer shell, users can showcase their unique style with options ranging from minimalist designs to bold graphics.
Many aftermarket shells are available in various colors, materials, and finishes. These options allow for creative expression that extends beyond mere functionality. Choosing a specific shell can transform the overall look of the Steam Deck while ensuring it reflects the owner’s personality.
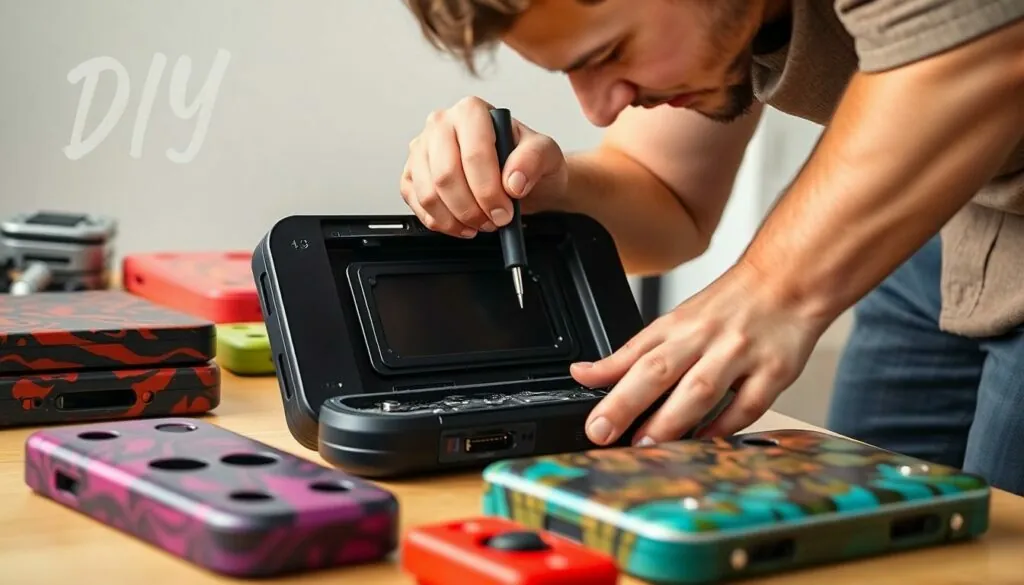
The shell swap process involves a few tools and steps, making it accessible for most users. Disassembling the Steam Deck requires careful handling to avoid damaging internal components. Following online guides can simplify the process and ensure a successful swap.
Maintaining the original aesthetic or opting for a vibrant redesign boosts enjoyment. Gamers can also consider limited-edition shells that feature collaborations with popular franchises, adding collectible value to their device. Each swap can be an opportunity to refresh the look of the console with minimal investment.
Ultimately, engaging in a shell swap fosters a deeper connection between the gamer and their device. Customization empowers users to create something unique while enhancing their gaming experience. Through thoughtful choices, shell swaps become more than just cosmetic changes; they represent a personal statement in the gaming community.
Benefits of Shell Swapping
Shell swapping offers many advantages for gamers looking to personalize their Steam Deck and enhance their gaming experience.
Enhanced Customization
Customization options expand significantly with a shell swap. Gamers can select from various colors, materials, and finishes, tailoring their device to personal tastes. Unique designs allow for bold expressions of creativity. Users can mix and match styles, creating one-of-a-kind consoles. Many aftermarket options are available, catering to different preferences, you can choose minimalist, futuristic, or even retro designs. Enhanced airflow or additional grips can improve comfort, too, aligning with the user’s gaming habits. Gamers see their console as a reflection of their personality, making every shell swap feel more meaningful.
Improved Aesthetics
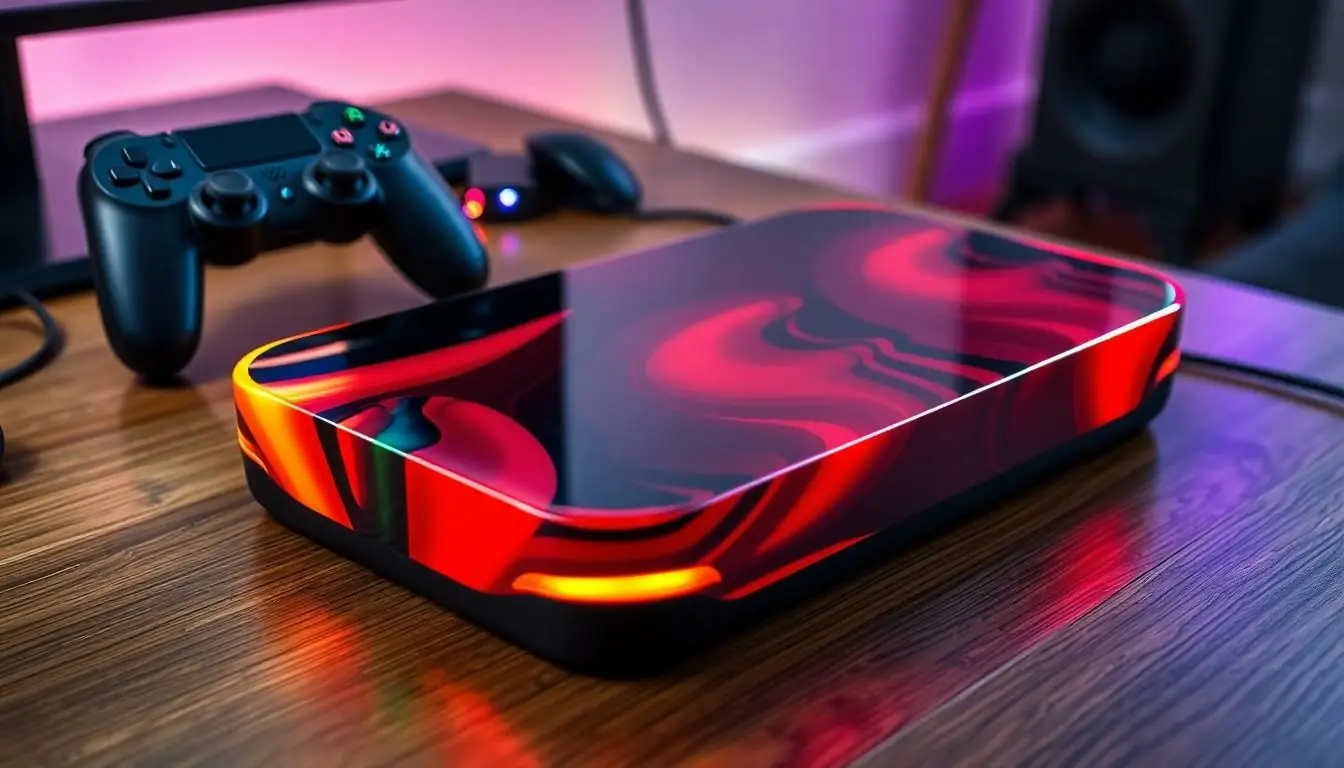
Aesthetic upgrades play a crucial role in attracting attention. Swapping shells transforms the Steam Deck from standard to striking, ensuring it stands out from the crowd. Various textures provide tactile experiences that enhance overall satisfaction. Some gamers prefer sleek finishes for a professional look, while others opt for vibrant patterns that showcase their individuality. Limited-edition shells can increase collectible value, making them even more appealing. Enhanced visuals contribute to an immersive gaming experience, elevating enjoyment and pride in ownership. Upgrading the shell not only beautifies the device, it also enriches the connection between the gamer and their gear.
Step-by-Step Guide to Shell Swap
Swapping the shell of a Steam Deck involves a straightforward process that enhances personalization. Follow the detailed steps to achieve a successful upgrade.
Tools Required
To get started, gather essential tools. A small Phillips screwdriver facilitates disassembly. A plastic pry tool helps separate the shell without damaging components. Tweezers assist with handling small parts. An anti-static wrist strap prevents static damage to internal circuitry. Lastly, a clean cloth provides a surface for laying out components safely.
Preparation Steps
Before beginning, prepare the workspace. Ensure that an uncluttered area is available, ideally with good lighting. Power off the Steam Deck and disconnect all cables. Attention to detail here is crucial. Remove any attached accessories like memory cards. Following online tutorials specifically tailored to the Steam Deck will help avoid issues during the swap.
The Shell Swapping Process
Begin the process by carefully unscrewing the back panel. Use the small Phillips screwdriver to loosen screws securely. Next, gently pry open the shell using the plastic tool, taking care not to bend any clips. Disconnect the battery connector, and set the original shell aside. Align the new shell properly to ensure a secure fit, then reconnect the battery. Finish the swap by reattaching the back panel with screws, ensuring it’s tightly sealed. Power on the Steam Deck to check that everything functions correctly.
Common Issues and Solutions
Users often face issues during the Steam Deck shell swap process. One common problem is misalignment of components after the shell is replaced. Ensuring proper alignment is crucial, as misalignment can lead to functional problems.
Another issue involves difficulties in keeping screws organized during disassembly. Utilizing a magnetic tray or labeled containers can help manage screws effectively. This organization prevents confusion and reduces the risk of losing critical components.
Battery disconnection poses another challenge. Users sometimes struggle to safely detach the battery during shell replacement. To avoid damage, gently use a plastic pry tool instead of excessive force. This method minimizes the risk of damaging delicate connections.
Overheating can occur if the shell swap does not allow adequate airflow. Modifying the vent placements during the swap can enhance cooling efficiency and prevent overheating. Proper ventilation is essential for maintaining optimal performance.
Finally, users may encounter problems with the new shell not fitting correctly. Sourcing aftermarket shells from reputable suppliers ensures compatibility and quality. Checking user reviews and ratings before purchasing can prevent future issues.
Addressing these common issues during a shell swap enhances the experience. Solutions involve proper preparation and careful handling of components. Following systematic approaches prevents complications and maximizes satisfaction with the custom look and feel of the Steam Deck.
Tips for a Successful Swap
Preparing a clean workspace is essential for a smooth shell swap. Gather all necessary tools like a small Phillips screwdriver, a plastic pry tool, and tweezers before starting. Organizing components as the process progresses helps avoid confusion later.
Following online tutorials proves beneficial. These guides offer visual references that clarify each step. Pay close attention to the disassembly instructions to prevent damaging the Steam Deck during the swap.
Using a magnetic tray for screws minimizes the risk of losing small parts. This method keeps screws organized and simplifies reassembly. A systematic approach to removing and replacing components can significantly speed up the process.
Ensure proper alignment of the new shell before reattaching the back panel. Misalignment can lead to issues with functionality or comfort. Double-check that all clips and connectors fit securely.
Monitoring the battery connection during installation prevents potential complications. Gently disconnecting the battery using a plastic pry tool reduces the chance of damaging the device. It’s also advisable to take breaks if feeling overwhelmed to maintain focus.
Sourcing compatible aftermarket shells from reputable suppliers guarantees a good fit. Popular options often come with user reviews that provide insights into quality and performance. Exploring various materials and finishes can enhance the overall aesthetic and tactile experience.
Lastly, patience remains crucial throughout the process. Rushing can lead to mistakes, resulting in an unsatisfactory outcome. A careful, methodical approach will yield a rewarding result, showcasing a personalized Steam Deck that reflects individual style.
Conclusion
Customizing the Steam Deck through shell swaps opens up a world of creative possibilities for gamers. By personalizing their devices, they not only enhance the aesthetic appeal but also create a deeper connection with their gaming experience. The process is accessible and rewarding, allowing users to showcase their unique styles while enjoying improved functionality.
With various aftermarket shells available, gamers can experiment with different textures and designs to find the perfect match for their preferences. This DIY project not only reflects individual taste but also fosters a sense of community among gamers. Embracing the shell swap journey transforms the Steam Deck into a truly one-of-a-kind device, making every gaming session even more enjoyable.